









Why Learning How to Clean AC Condenser Coils Yourself Between Visits Matters
Knowing how to clean AC condenser coils yourself between visits from a professional can save you real money, keep your system running efficiently, and help your AC last years longer. Dirty coils force your system to work harder — and according to the U.S. Department of Energy, that extra strain can increase energy use by up to 30%. In the San Gabriel Valley, where summer heat pushes AC systems hard for months at a time, that adds up fast.
Here's a quick overview of how to clean your AC condenser coils yourself:
- Shut off power at the disconnect box and breaker before touching anything
- Remove the top panel and clear out leaves, debris, and buildup from the base
- Apply a non-acidic foaming coil cleaner from bottom to top and let it dwell 5–10 minutes
- Rinse gently from the inside out using a garden hose on a low-pressure setting
- Straighten any bent fins with a fin comb
- Reassemble, restore power, and test the system
This is a task most homeowners can handle safely once or twice a year with basic tools. Done right, it improves airflow, lowers energy bills, and reduces wear on your compressor — the most expensive part of your AC system to replace.
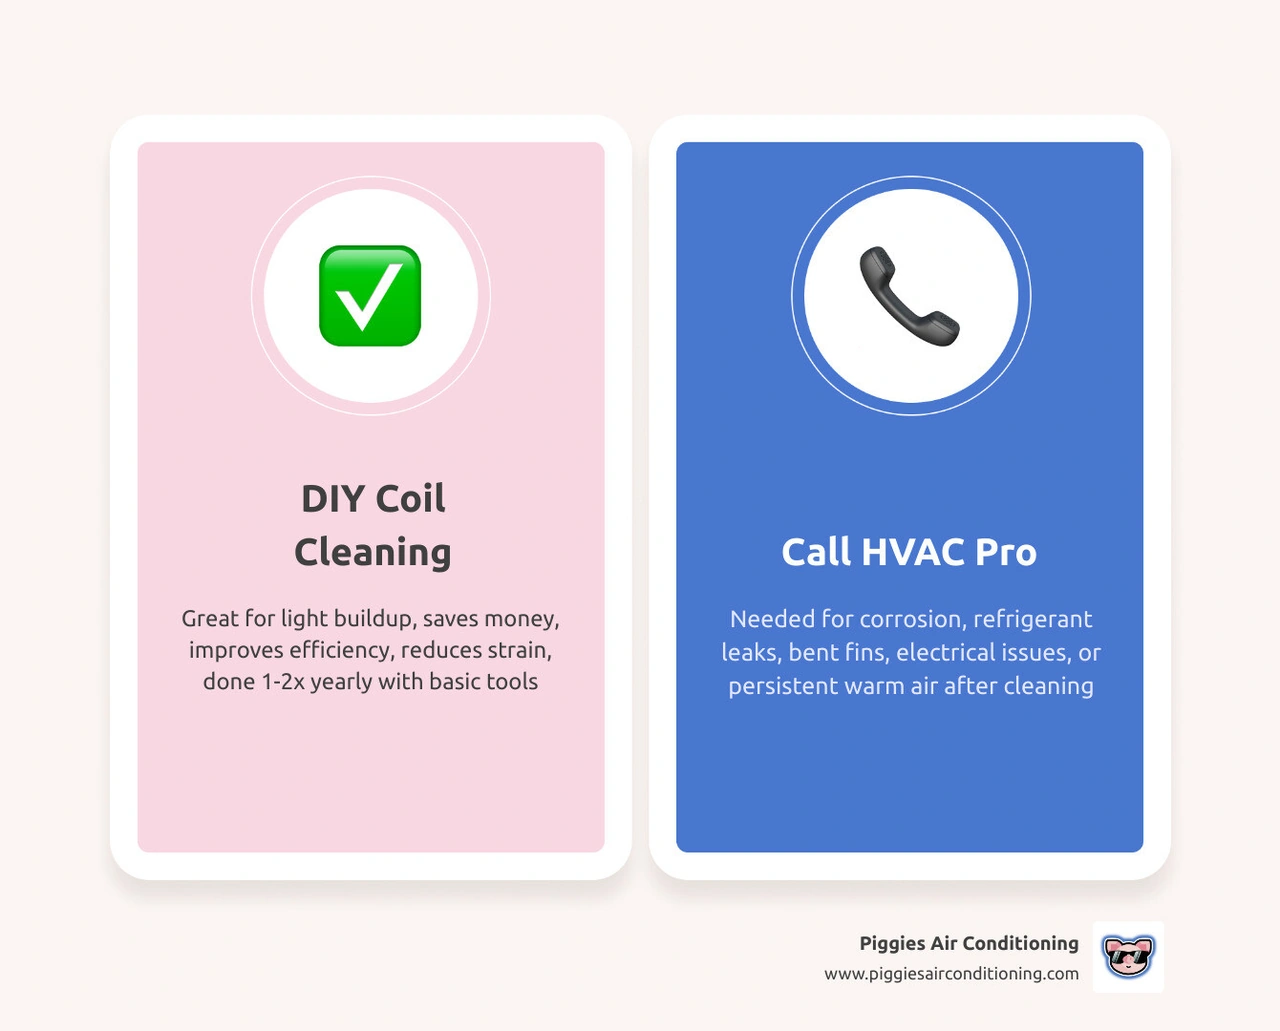
That said, DIY cleaning works best for light-to-moderate buildup between professional tune-ups. If you spot corrosion, oil residue, bent fins, or the system still blows warm air after cleaning, it's time to call in a licensed HVAC technician.
What AC condenser coils do and why dirt causes trouble
Your central AC has two main coils: the indoor evaporator coil and the outdoor condenser coil. The condenser coil is the part in your outside unit that releases the heat pulled from inside your home. If that heat cannot escape easily, your system has to run longer and work harder.
Most condenser coils are made of copper tubing wrapped with thin aluminum fins. Those fins help move heat quickly, but they are also delicate. Dust, cottonwood, pollen, leaves, grass clippings, and pet hair can pack into them and block airflow.
When that happens, several problems show up at once:
- Heat transfer drops
- Cooling cycles get longer
- The outdoor cabinet may feel unusually hot
- Energy use can rise significantly
- The compressor takes on extra strain
In other words, dirty coils make your AC do the same job while breathing through a dusty sweater.
Signs your condenser coils are dirty and need attention
You do not need x-ray vision to spot a dirty condenser coil. Common warning signs include:
- Visible debris on the outside of the unit
- Fins that look matted with dust or lint
- Warm or less-cool air from the vents
- Longer run times than usual
- Higher electric use during cooling season
- A hotter-than-normal outdoor unit
- Unusual operating noise from strain
- Ice on refrigerant lines or poor overall cooling
A visual check is often enough. If the coil surface looks clogged instead of open and airy, it is time for a cleaning.
Before You Start: Safety Checks, Cleaning Frequency, and When DIY Makes Sense
Before we grab a hose and play backyard HVAC hero, we need to talk safety. Condenser cleaning is a reasonable DIY task for light maintenance, but only if we do it carefully.
Always do these checks first:
- Turn the thermostat off
- Shut off power at the breaker
- Pull or switch off the outdoor disconnect near the unit
- Wear gloves and safety glasses
- Check your owner manual for any model-specific instructions
- If your system is under warranty, review warranty language before opening panels
DIY cleaning makes the most sense when the issue is ordinary outdoor buildup, not a mechanical or refrigerant problem.
How often to clean condenser coils between professional visits
For most homeowners in West Covina, Pasadena, Baldwin Park, and nearby San Gabriel Valley communities, cleaning the outdoor condenser coil once a year is a smart baseline. Spring is usually the best time, before the hottest weather arrives.
You may want to clean more often, such as every six months, if your home has any of these conditions:
- Lots of nearby trees
- High pollen or dust
- Strong winds that blow debris into the yard
- Pets that shed heavily
- Regular lawn mowing near the unit
- Landscaping planted too close to the condenser
Southern California's long cooling season means outdoor units often collect buildup gradually, then all at once. A quick mid-season check can prevent a lot of unnecessary strain.
For a fuller maintenance plan, see our AC Maintenance Guide.
When to stop DIY cleaning and call an HVAC professional
There is a line between helpful maintenance and "this needs a pro." Stop the DIY process and book service if you notice:
- Oil residue on or around the coil
- Corrosion or rust eating into the metal
- Burned wires or damaged electrical parts
- Severe fin damage
- A frozen coil or ice on refrigerant lines
- Deep blockage you cannot rinse out gently
- Persistent warm air after cleaning
- Signs of refrigerant leak, such as hissing or oily spots
If the system is still not cooling correctly after a proper coil cleaning, use our AC Troubleshooting Guide and then schedule professional help if needed.
Tools and Products for How to Clean AC Condenser Coils Yourself Between Visits

Having the right tools matters. The goal is to remove dirt without crushing fins, soaking electrical parts, or turning a simple maintenance job into a repair call.
The safest tools and materials to gather first
Here is a practical homeowner-friendly checklist:
- Screwdriver or nut driver for access panels
- Garden hose with a gentle spray setting
- Soft nylon brush
- Vacuum with brush attachment or shop vacuum
- Flashlight
- Fin comb
- Microfiber cloths or towels
- Work gloves
- Safety glasses
- Non-acidic foaming condenser coil cleaner labeled safe for aluminum
- Mild dish soap for very light dirt if coil cleaner is not needed
A fin comb is especially useful if you notice a few bent fins after debris removal. Just make sure it matches the fin spacing well enough to avoid making things worse.
What cleaning solutions work best and what to avoid
The safest option is a non-corrosive, aluminum-safe foaming coil cleaner made for outdoor condenser coils. These products are designed to loosen grime without eating away at the metal.
For light dust, mild soap and water can also work. The key is gentle application and a low-pressure rinse.
Avoid these completely:
- Bleach
- Harsh degreasers
- Acidic cleaners
- Solvents
- Abrasive pads
- Stiff wire brushes
- Pressure washers
These can corrode metal, strip protective coatings, or bend the fins flat. And once fins are damaged, airflow suffers. That is a frustrating way to learn that "stronger" is not always "better."
Step-by-Step: How to Clean AC Condenser Coils Yourself Between Visits
Below is the safest basic process for homeowners doing between-visit maintenance on an outdoor condenser unit.
Step 1: Shut off power and open the unit safely
Start at the thermostat and switch the cooling system off. Then go to the breaker panel and shut off the AC breaker. After that, turn off the outdoor disconnect mounted near the condenser.
Do not skip any of those steps.
Once power is off:
- Remove the screws holding the top grille or side panel in place.
- Take a quick reference photo before moving anything.
- If the fan assembly lifts with the top panel, support it carefully and avoid straining the wires.
- Set screws aside where they will not disappear into the grass forever.
If anything feels stuck, awkward, or more complex than expected, stop there and call for service. Forcing panels is never a good maintenance strategy.
Step 2: Clear surface debris and inspect the coil
With access open, remove loose debris by hand first:
- Leaves
- Twigs
- Seed fluff
- Grass clippings
- Dust buildup in the base pan
Next, use a vacuum with a brush attachment or a soft brush to remove loose dirt from the coil face and the bottom of the cabinet. Check drainage holes in the base and clear them if debris is blocking them.
Now inspect the coil itself. Look for:
- Bent fins
- Packed dirt between fins
- Signs of corrosion
- Multiple coil rows
- Animal nesting or heavy blockage
If your unit has a double-row coil, an outside-only rinse may not fully clean the inner row. That is one reason a professional tune-up is still important even if we keep up with DIY cleaning.
Step 3: Apply cleaner the right way
Spray the coil cleaner evenly over the coil surface. A bottom-to-top application usually gives better coverage and helps prevent streaking or missed spots.
Then:
- Let the cleaner dwell for 5 to 10 minutes, or as directed on the label.
- Keep it off obvious electrical components and wiring as much as possible.
- If needed, use a soft nylon brush very lightly in the direction of the fins, not across them.
Do not scrub aggressively. Patience works better than force here.
Step 4: Rinse condenser coils gently without damaging fins
This is the part that matters most: rinse with low pressure.
Best method:
- Spray from the inside of the unit outward, so dirt exits the way it came in
Use:
- A garden hose
- Shower or fan setting
- Gentle horizontal passes
Avoid:
- Jet settings
- Pressure washers
- Blasting water straight into fins from the outside
If inside-out access is limited, a gentle top-down rinse is a reasonable fallback for light buildup. It is not as thorough, but it is safer than forcing the job.
Keep water away from the disconnect box and exposed electrical connections. Let runoff drain naturally, and avoid flooding mulch beds or enclosed areas around the condenser.
Step 5: Dry, reassemble, and test the system
After rinsing:
- Let the unit air dry thoroughly.
- Wipe away excess moisture from accessible non-electrical surfaces if needed.
- Straighten lightly bent fins with a fin comb.
- Reinstall panels and hand-tighten screws.
- Restore the disconnect and breaker.
- Turn the thermostat back on and test cooling.
When the system restarts, listen for smooth operation and check whether airflow and cooling feel normal. Many homeowners notice shorter run times and quieter operation after even a basic cleaning.
Common DIY Mistakes That Can Damage Condenser Coils
Coil cleaning is simple, but there are a few very common mistakes that can cause expensive damage.
Mistakes homeowners make most often when cleaning coils
The biggest coil-cleaning mistakes include:
- Cleaning from outside in and pushing dirt deeper into the fins
- Using a pressure washer
- Scrubbing with a stiff brush
- Bending fins by touching or pressing too hard
- Soaking the disconnect or electrical components
- Skipping the full power shutoff
- Forcing tools between fins
- Reinstalling panels incorrectly
- Restoring power before the unit is dry
Another sneaky mistake is assuming the unit is clean because the outside cabinet looks fine. A condenser can look neat from five feet away and still be packed with grime where airflow matters.
How to protect coil life and system performance after cleaning
A clean coil lasts longer when the area around it stays clean too. Simple habits make a big difference:
- Keep at least 2 feet of clearance around the outdoor unit
- Trim shrubs and plants back regularly
- Point mower discharge away from the condenser
- Remove leaves from the top of the cabinet
- Replace indoor air filters every 1 to 3 months
- Inspect the unit each spring and again in late summer or early fall
Proper maintenance can help condenser coils last 10 to 15 years or more. To keep the rest of the system in good shape too, read our AC Tune-Up Guide and our article on How Central Air Conditioners Work.
FAQs About How to Clean AC Condenser Coils Yourself Between Visits
Here is a quick comparison of what homeowners can usually handle and what is better left to trained HVAC technicians.
| Task | DIY Between Visits | Professional Service |
|---|---|---|
| Remove leaves and surface debris | Yes | Yes |
| Gentle hose rinse | Yes | Yes |
| Apply aluminum-safe coil cleaner | Yes, with care | Yes |
| Straighten a few lightly bent fins | Yes, with fin comb | Yes |
| Deep inner-row cleaning | Limited | Yes |
| Electrical inspection | No | Yes |
| Refrigerant-related issues | No | Yes |
| Corrosion, leaks, or severe fin damage | No | Yes |
Can I clean my air conditioner condenser coils myself?
Yes, for light to moderate outdoor buildup, most homeowners can safely clean condenser coils themselves between maintenance visits. This is especially true if the task is limited to debris removal, mild cleaner application, and a gentle rinse.
What DIY cleaning should not include:
- Electrical repair
- Refrigerant work
- Deep disassembly
- Heavy fin restoration
Think of it as routine upkeep, not a substitute for annual professional maintenance.
How do I know if the coils are clean enough?
Your condenser coils are clean enough when:
- Fins are no longer packed with visible dirt
- Air can move through the coil more freely
- Water rinses through instead of pooling on grime
- The unit runs with more normal cycle lengths
- Cooling performance improves
You do not need to make the coil look factory-new. The goal is to remove blockage and restore airflow, not polish it for a magazine photo shoot.
Should I clean indoor evaporator coils the same way?
No. Indoor evaporator coils are more delicate, often harder to access, and sit in a part of the system where moisture management matters a lot. If there is only very light dust on an easily accessible evaporator coil, limited DIY care may be possible, but in most homes we recommend professional service for indoor coil cleaning.
That is especially true if you see:
- Ice
- Mold-like buildup
- Heavy grime
- Drainage issues
- Oil residue
For complete system maintenance across Los Angeles County communities we serve, visit our AC Maintenance Los Angeles County page.
Conclusion: Keep DIY Cleaning Simple and Know When to Book Service
Learning how to clean AC condenser coils yourself between visits is one of the most useful maintenance skills a homeowner can have. A careful rinse, the right coil cleaner, and a little patience can improve efficiency, reduce system strain, and help your AC stay reliable through long San Gabriel Valley summers.
The simple rule is this: if the problem is dirt, DIY may help. If the problem is damage, ice, leaks, wiring, corrosion, or persistent warm air, it is time to stop and call for service.
At Piggies Air Conditioning, we help homeowners in West Covina, Baldwin Park, Pasadena, and surrounding areas keep their systems clean, safe, and ready for the season. If your condenser needs more than a light between-visit cleaning, explore our AC service in Pasadena or learn more about our full air conditioning services.
Other blogs


Customer Testimonials



CUSTOMER SERVICE!
I highly recommend this company for anyone needing AC repair or maintenance. I'll definitely be calling them again for any future needs!

I had the pleasure of experiencing outstanding service and professionalism from Ruben, and I am beyond impressed. From the moment I first contacted them, by phone and follow up communication via email for my quotes. The attention to detail and commitment to excellence were evident.
Ruben, was incredibly responsive, addressing all my inquiries promptly and with clear, thorough explanations. Their dedication to understanding and meeting my needs was remarkable.
Ruben, went above and beyond to ensure that everything was handled seamlessly, demonstrating not just professionalism, but also a sincere dedication to customer satisfaction.
I can't recommend Piggies air Conditioning/Ruben highly enough. If you're looking for someone who combines expertise with exceptional service, look no further. They are a true example of what outstanding professionalism should be.
The technician arrived on time, which I really appreciated given how crucial air conditioning is in this heat. Ruben was professional and friendly, explaining what he was doing throughout the process. The issue I had was diagnosed fairly quickly, and they provided me with a few options on how to fix it. The pricing was transparent, and I didn't feel like there were any hidden costs, which is always a plus when it comes to service calls like these. Highly recommend this company!
1st & foremost, huge shout out to Ruben thank u so so much for reaching out & making things happen SO FAST! I was so surprised since i had reached out to a couple different places who lagged on even answering calls, messages, etc.
Ruben was also very informative & taught me ALOT that i didnt know about.
Also cant leave the amazing Luis & Miles out of
this review.
They came, they saw, they conquered!
And they worked pretty swiftly too, felt very comfy around em, loved their personalities, great attitude, work ethic, professionalism, had some really good convos & they still got the job done lightning fast
SUPER HUGE SHOUT OUT & THANKS for everything guys! Definitely recommending u guys to everyone i know.
recommendations and feedback. The actual installation was painless and unremarkable, his AC experts got it done, got it cleaned and most importantly got it right. Rueben even went a step further to assure we had
protection from the coming rain, that is service unheard of these days. His price was competitive and a REAL value for the service we recieved. Using anyone else for your AC needs, would be a huge mistake. We thank them again and will recommend to everyone.
Echoing a lot of the other reviews here, Piggies Air Conditioning responds so quickly to requests (even though I actually accidentally sent in multiple requests on my side without responding, oops!)
They were able to come do a FREE energy audit and initial inspection on the same day and Ruben was amazing at explaining his thoughts on our house's situation and what he thought was worth the money and wasn't worth the money.
I truly felt like he was trying to help me find the best solution to our issues instead of just trying to upsell us on everything and anything.
I'm definitely recommending this business to anyone I know if they want a trustworthy and realistic service, value, and quality.